Written By: Hailey Hudson
If there’s one area cats can’t quite reach on their own, it’s their ears. Keeping your cat’s ears clean can help you nip any potential problems — like inflammation or an infection — in the bud. Here’s a step-by-step guide to cleaning a cat’s ears to keep them healthy.
When to Clean Your Cat’s Ears
Some cats are more prone to wax buildup or ear infections than others. If your cat has a history of ear problems, you might want to add regular preventative ear cleaning to your calendar. Any discharge or strange smells around your cat’s ear can also signal that it’s time for a cleaning, and maybe even a visit to your vet. Also, keep in mind that outdoor cats may have dirtier ears than indoor cats.
While regular cleanings are helpful, you also don’t want to over-clean your cat’s ears. Too much cleaning can do just as much damage as too little. A couple of times per month should do the trick, but check with your vet to ensure they don’t require any special attention.
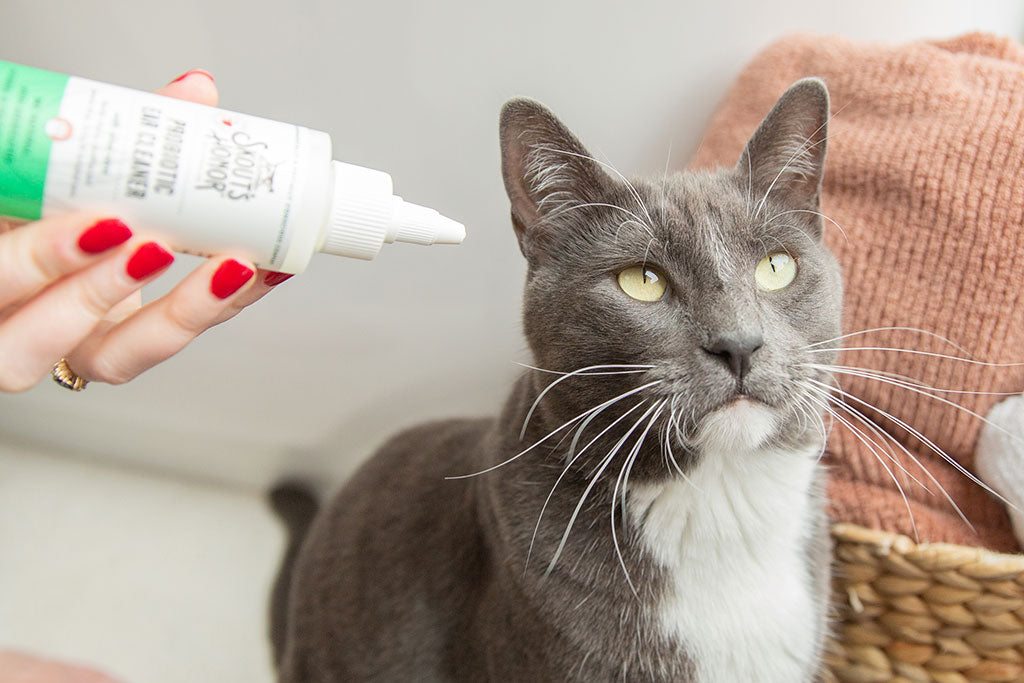
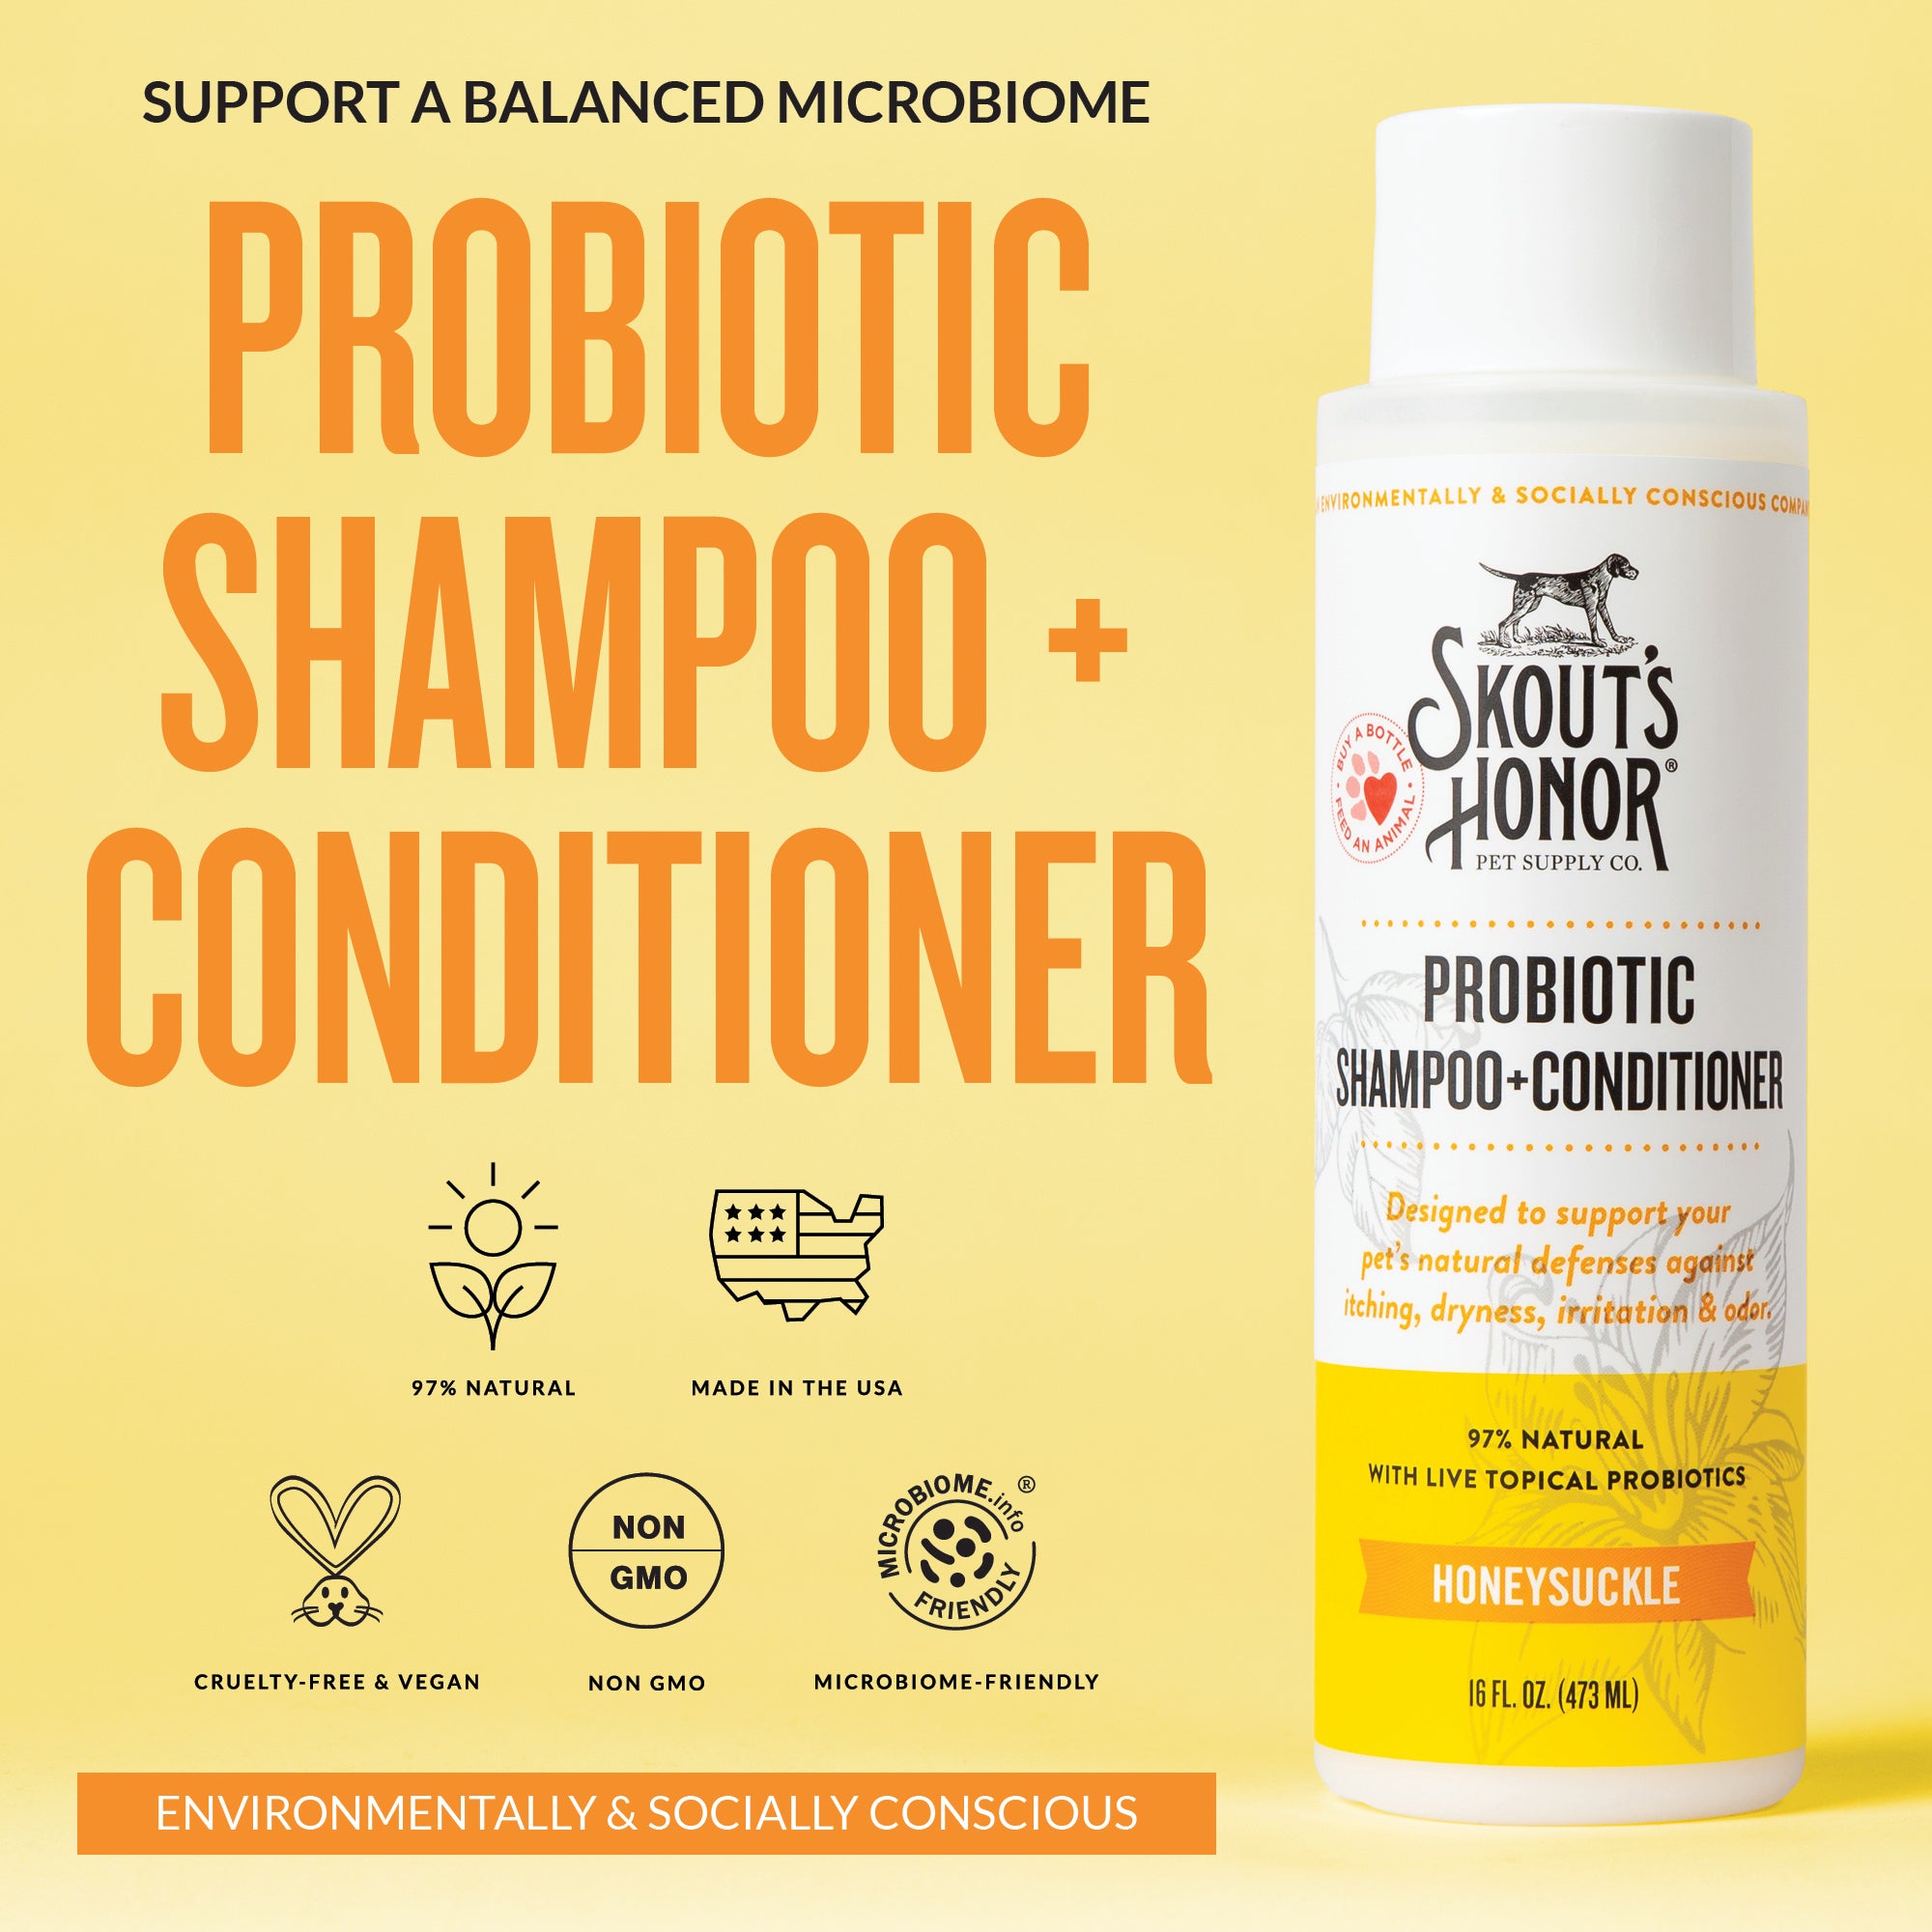
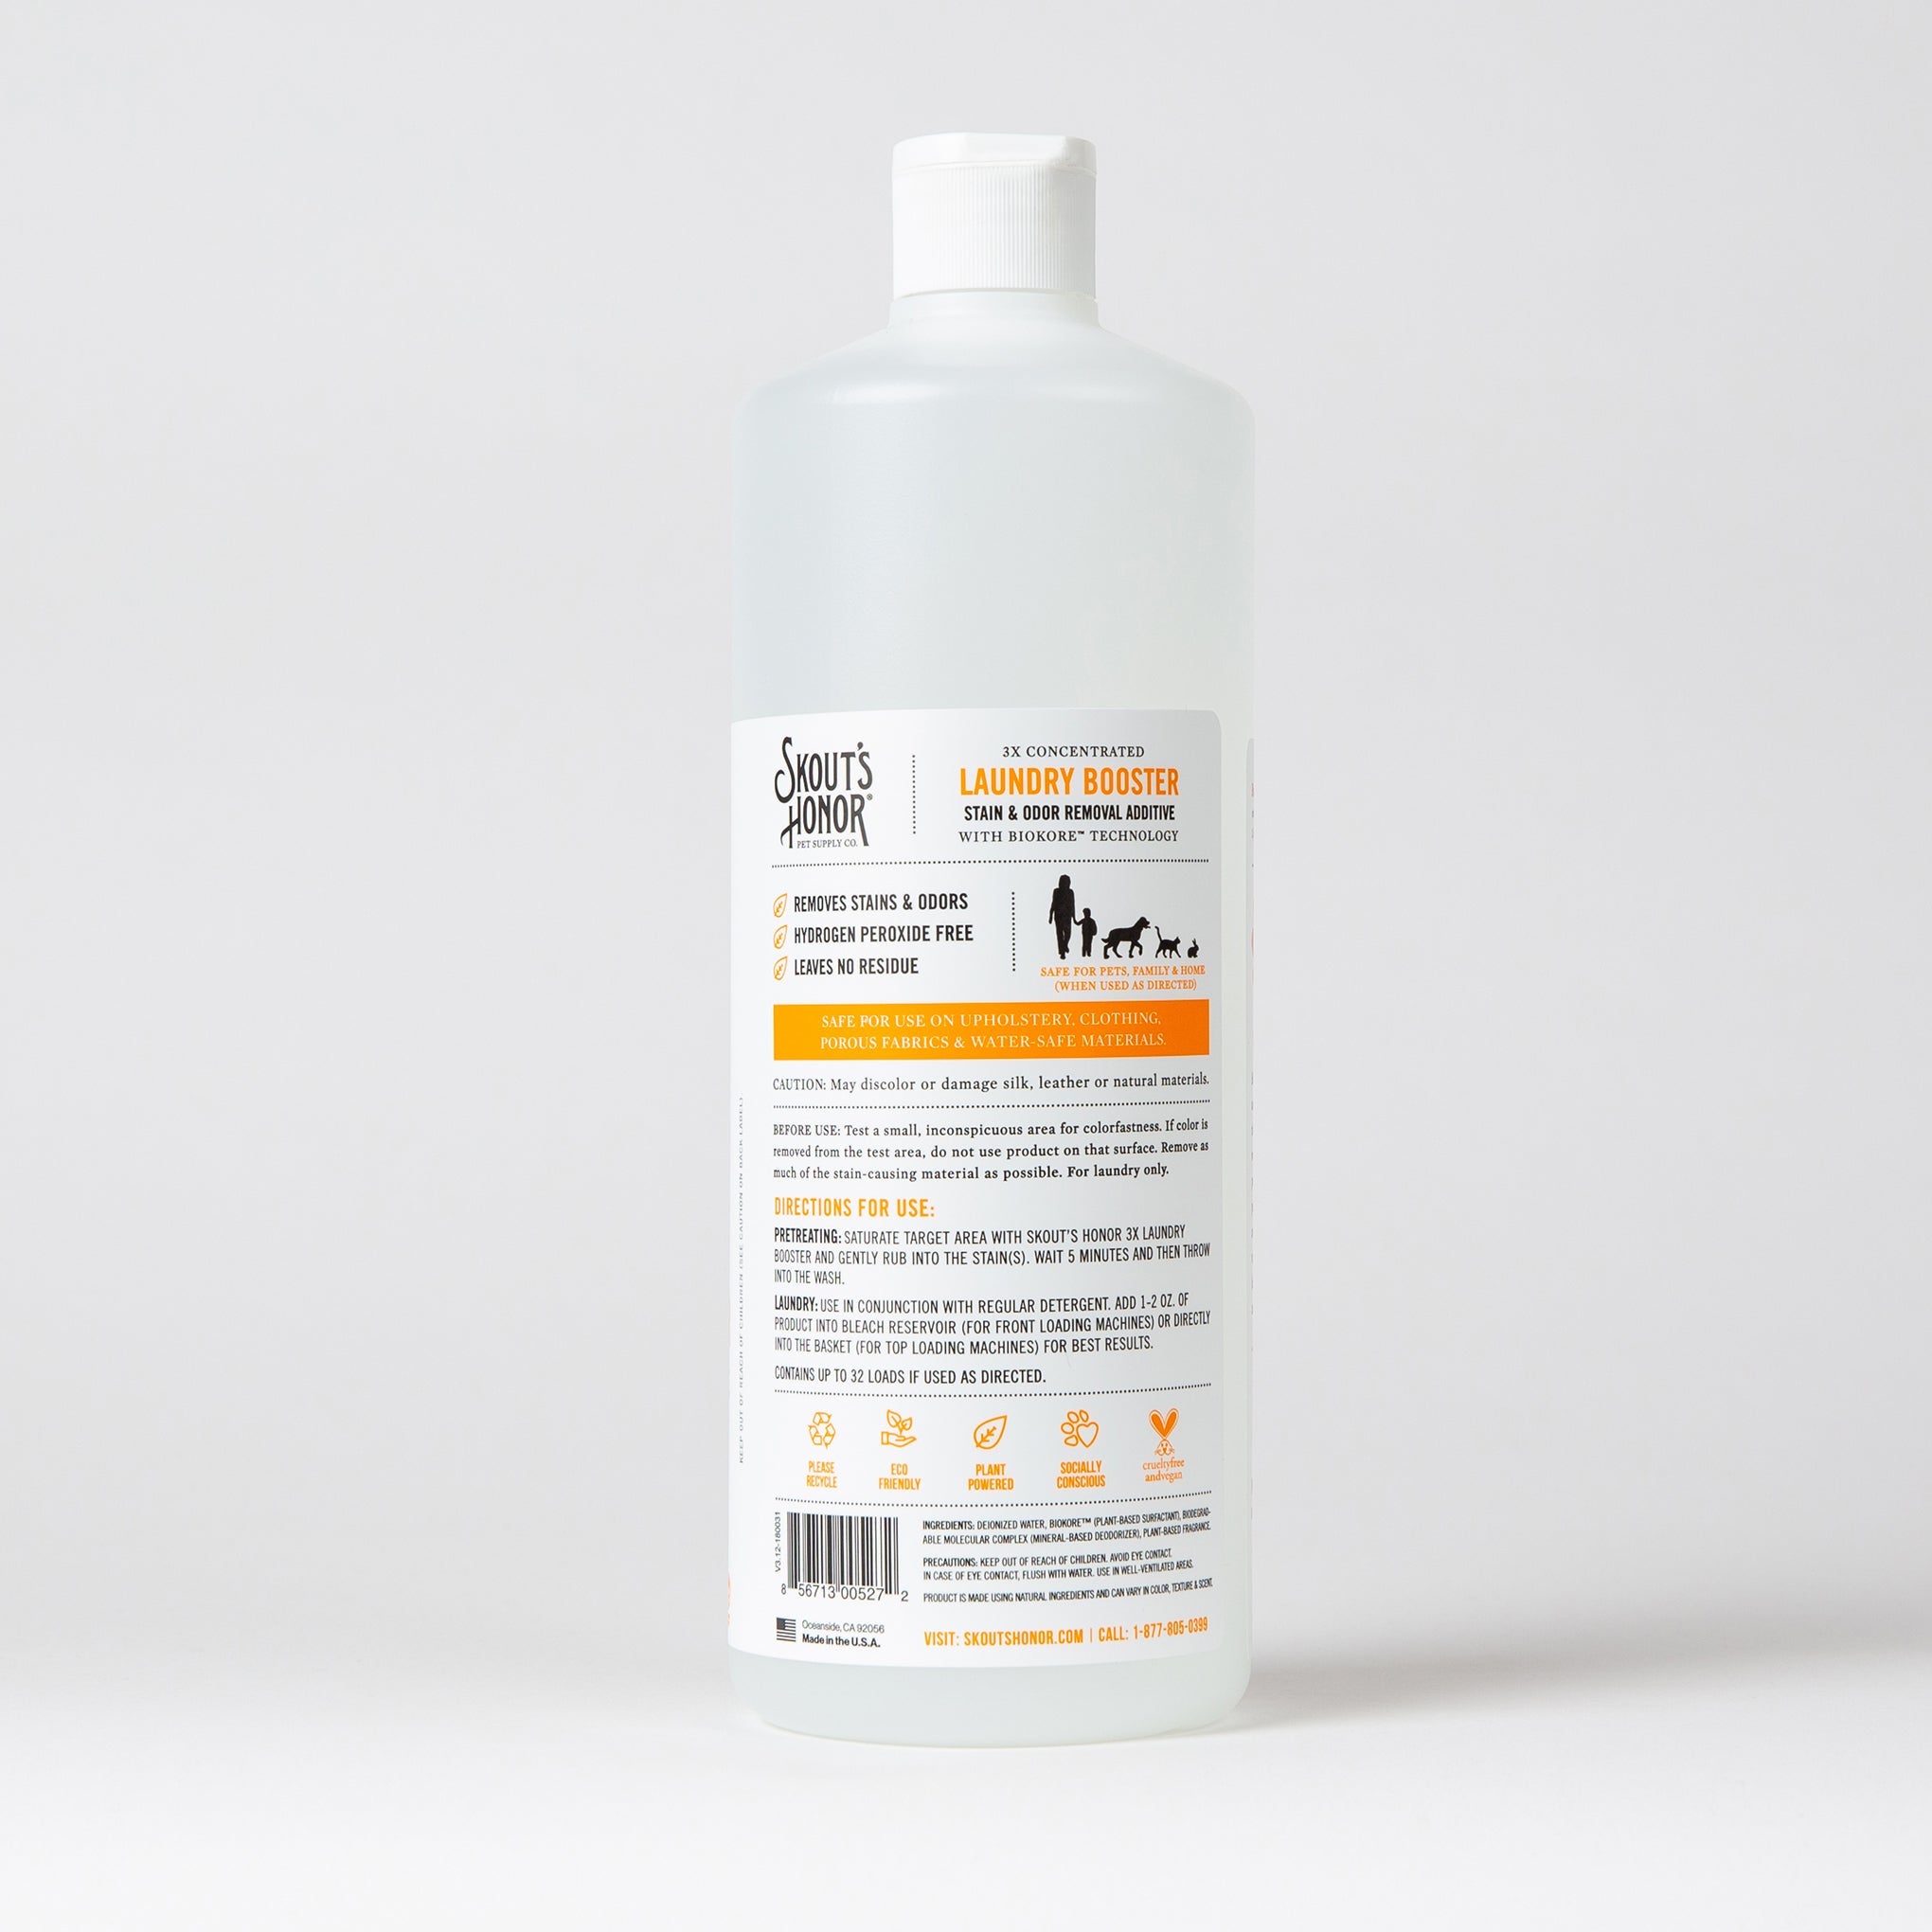
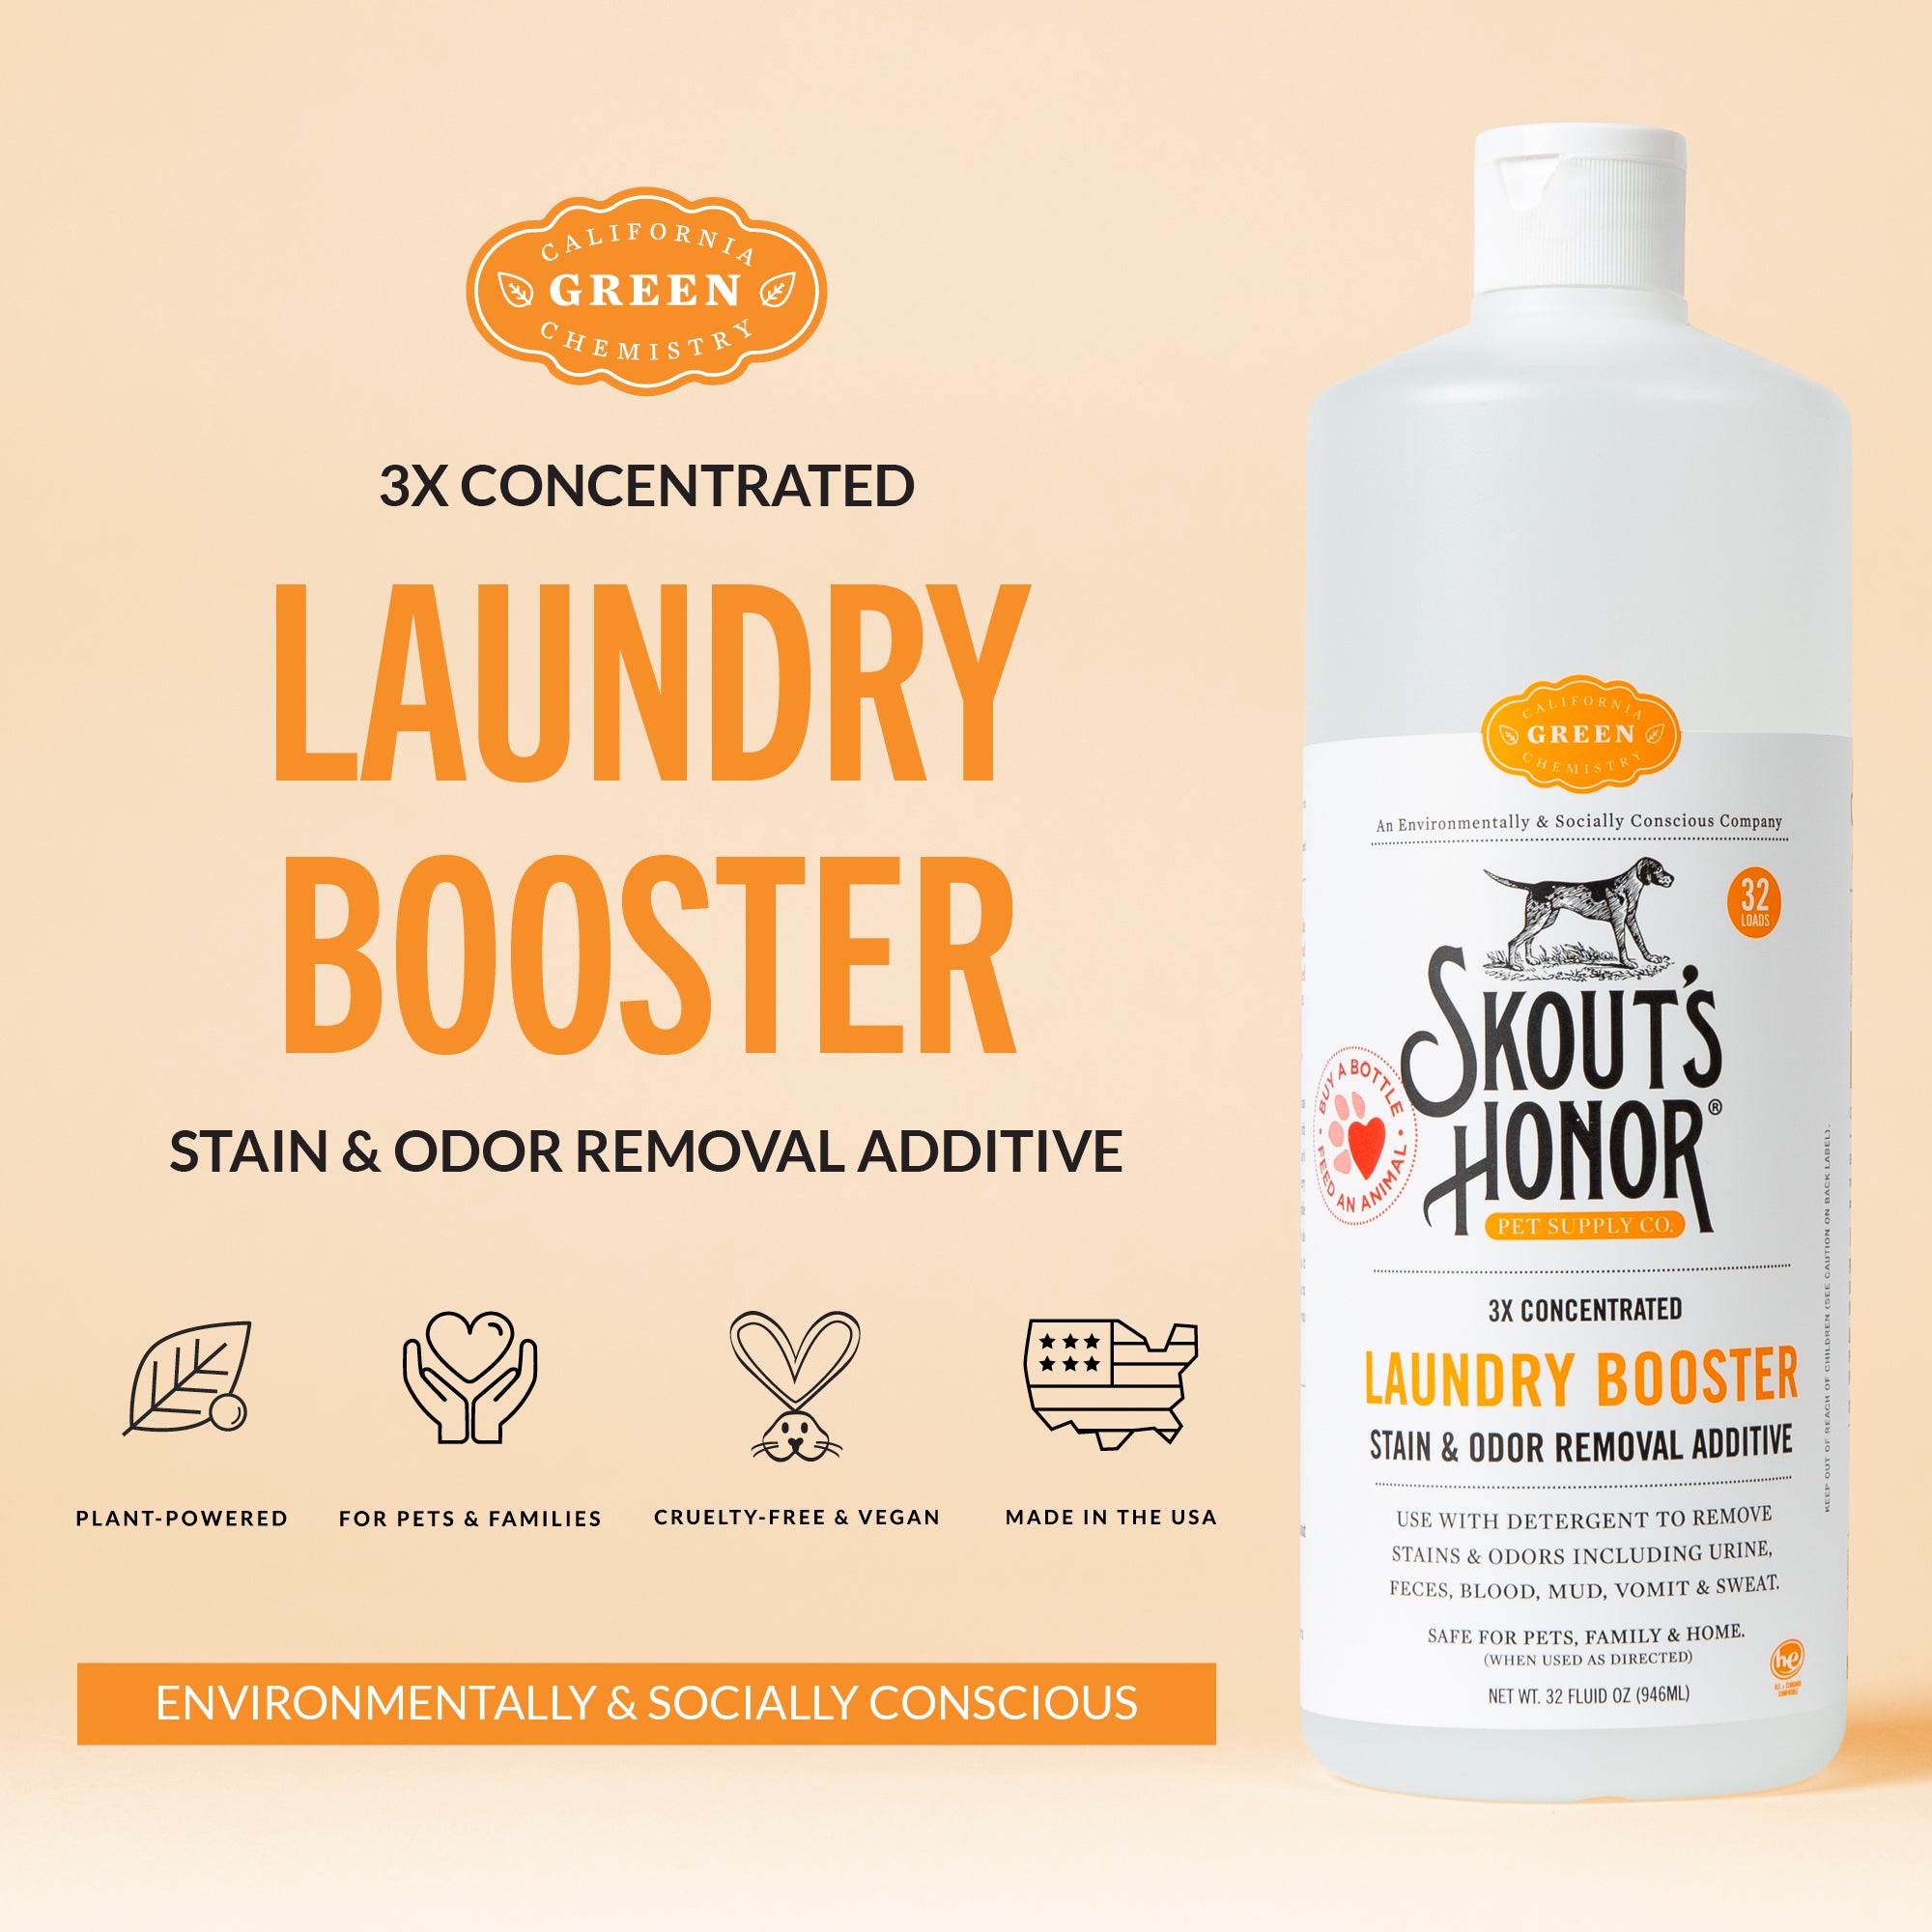
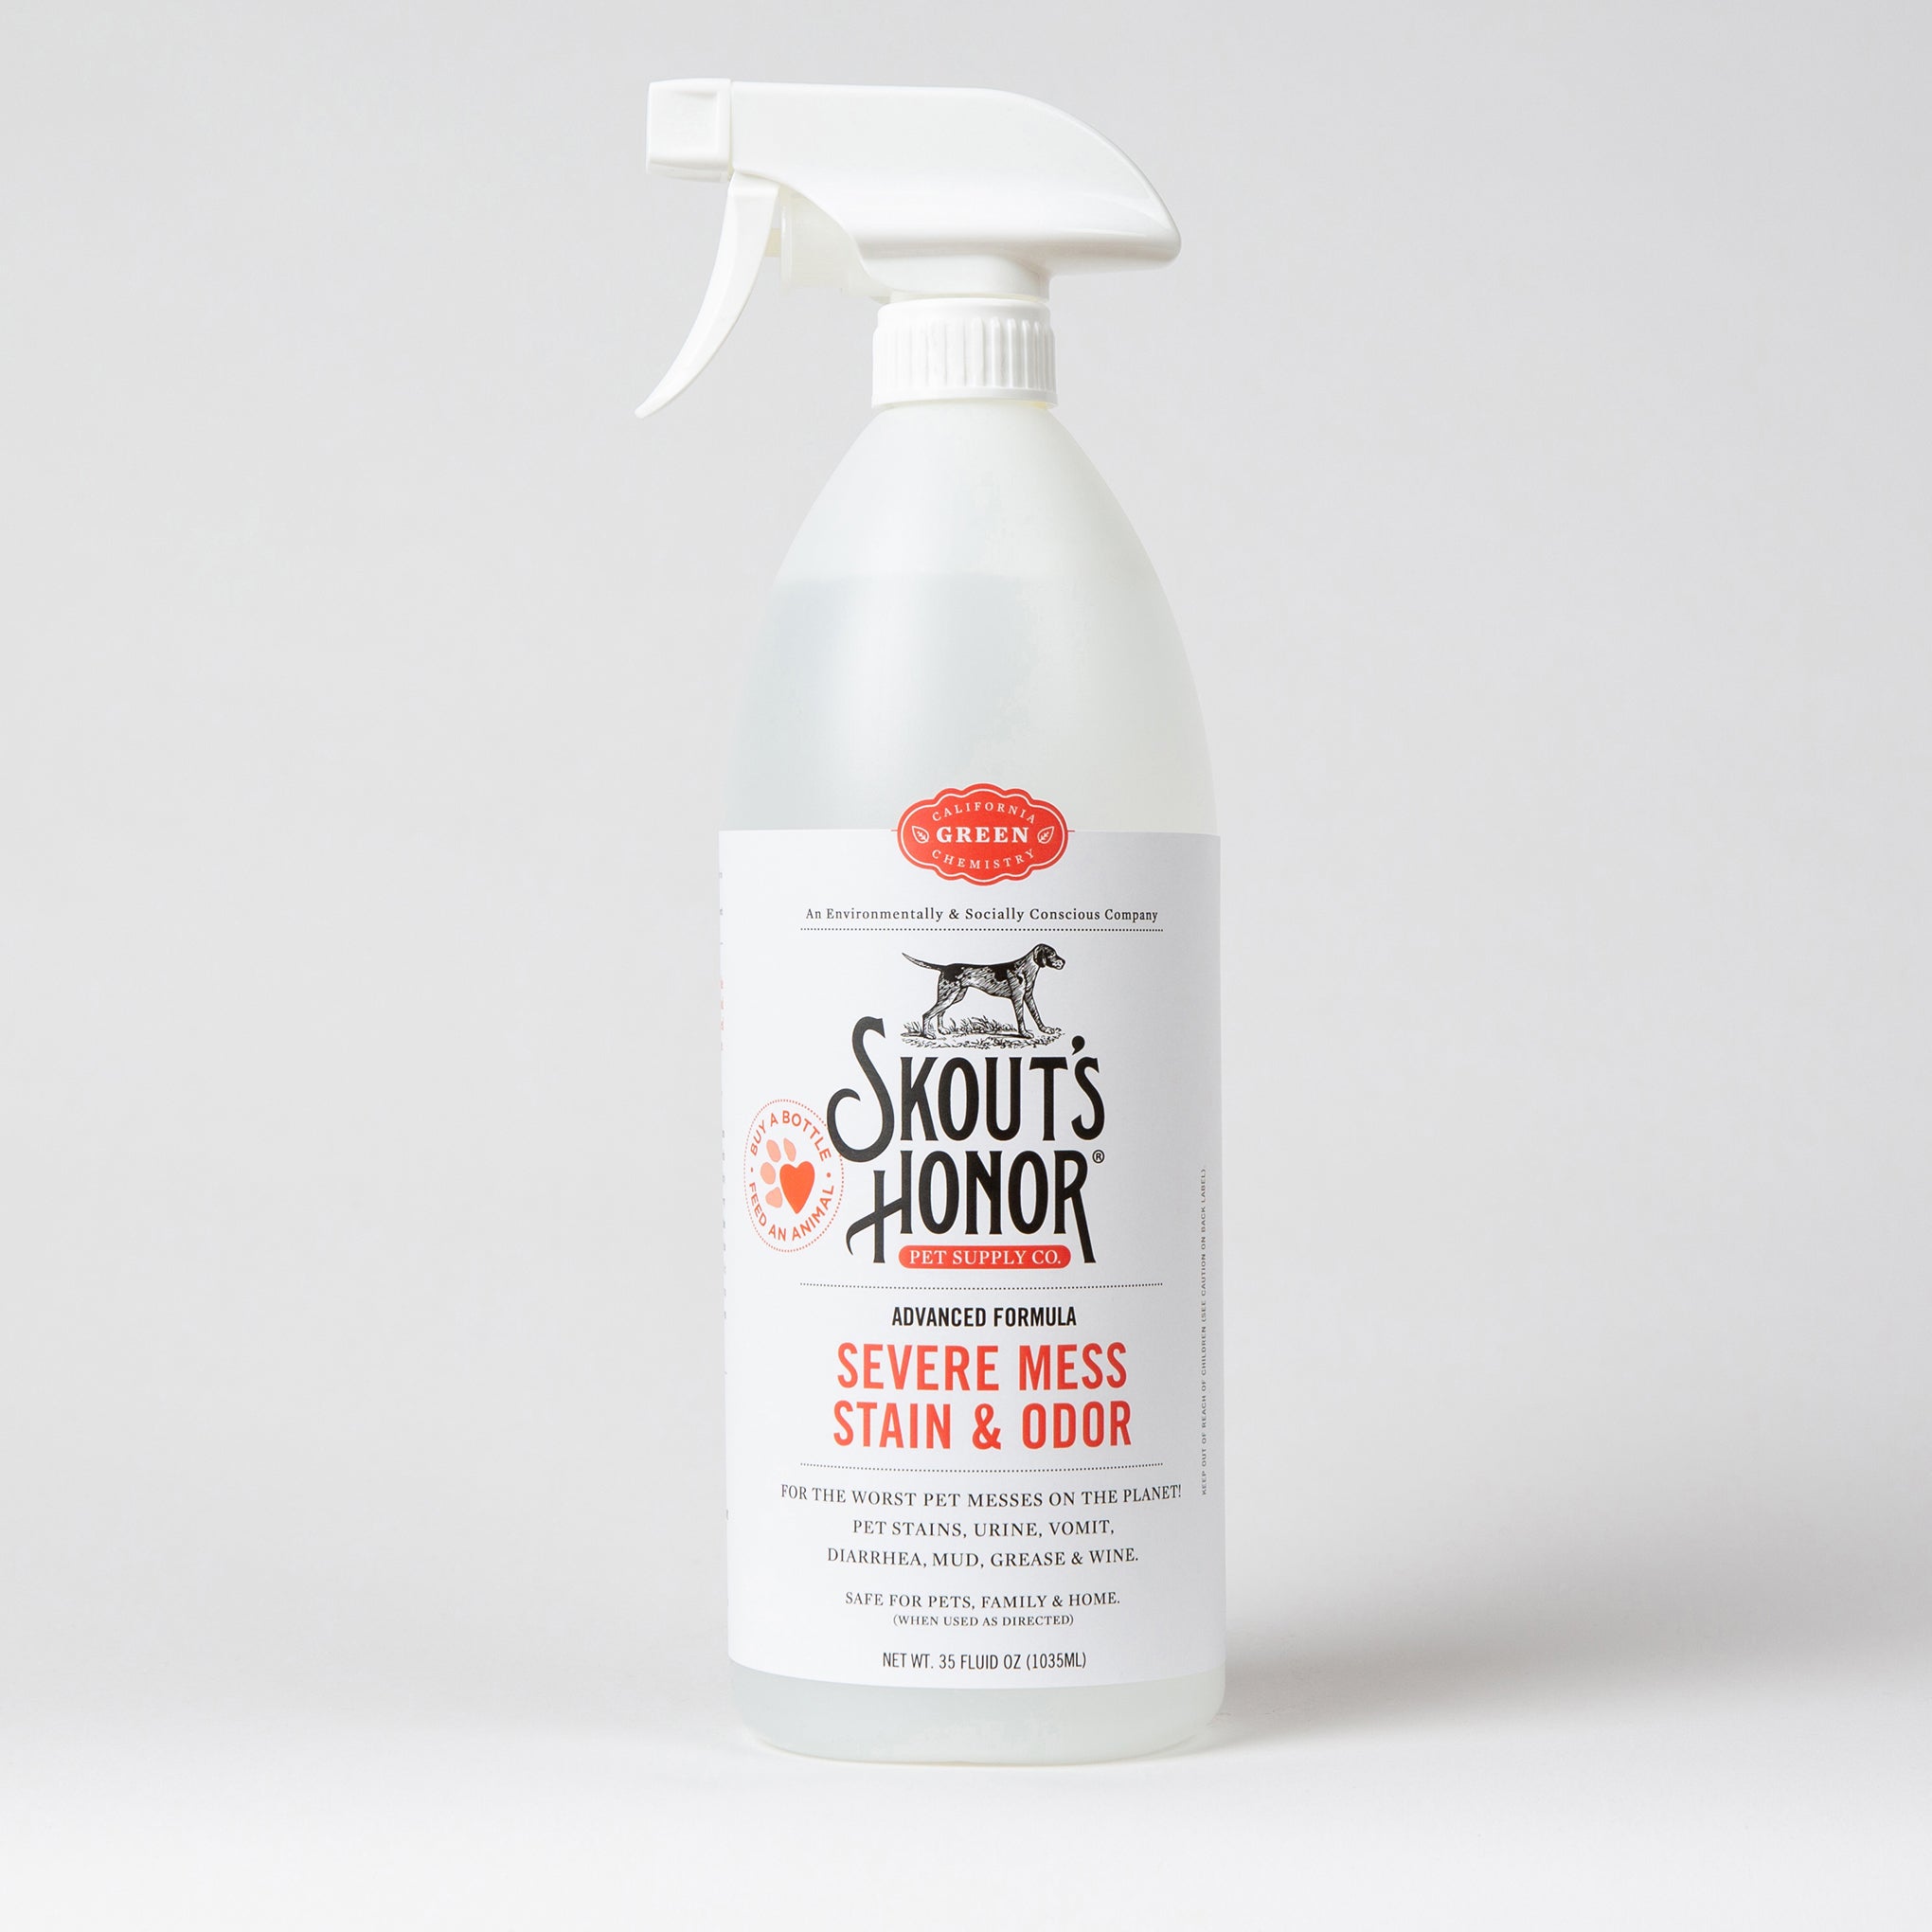
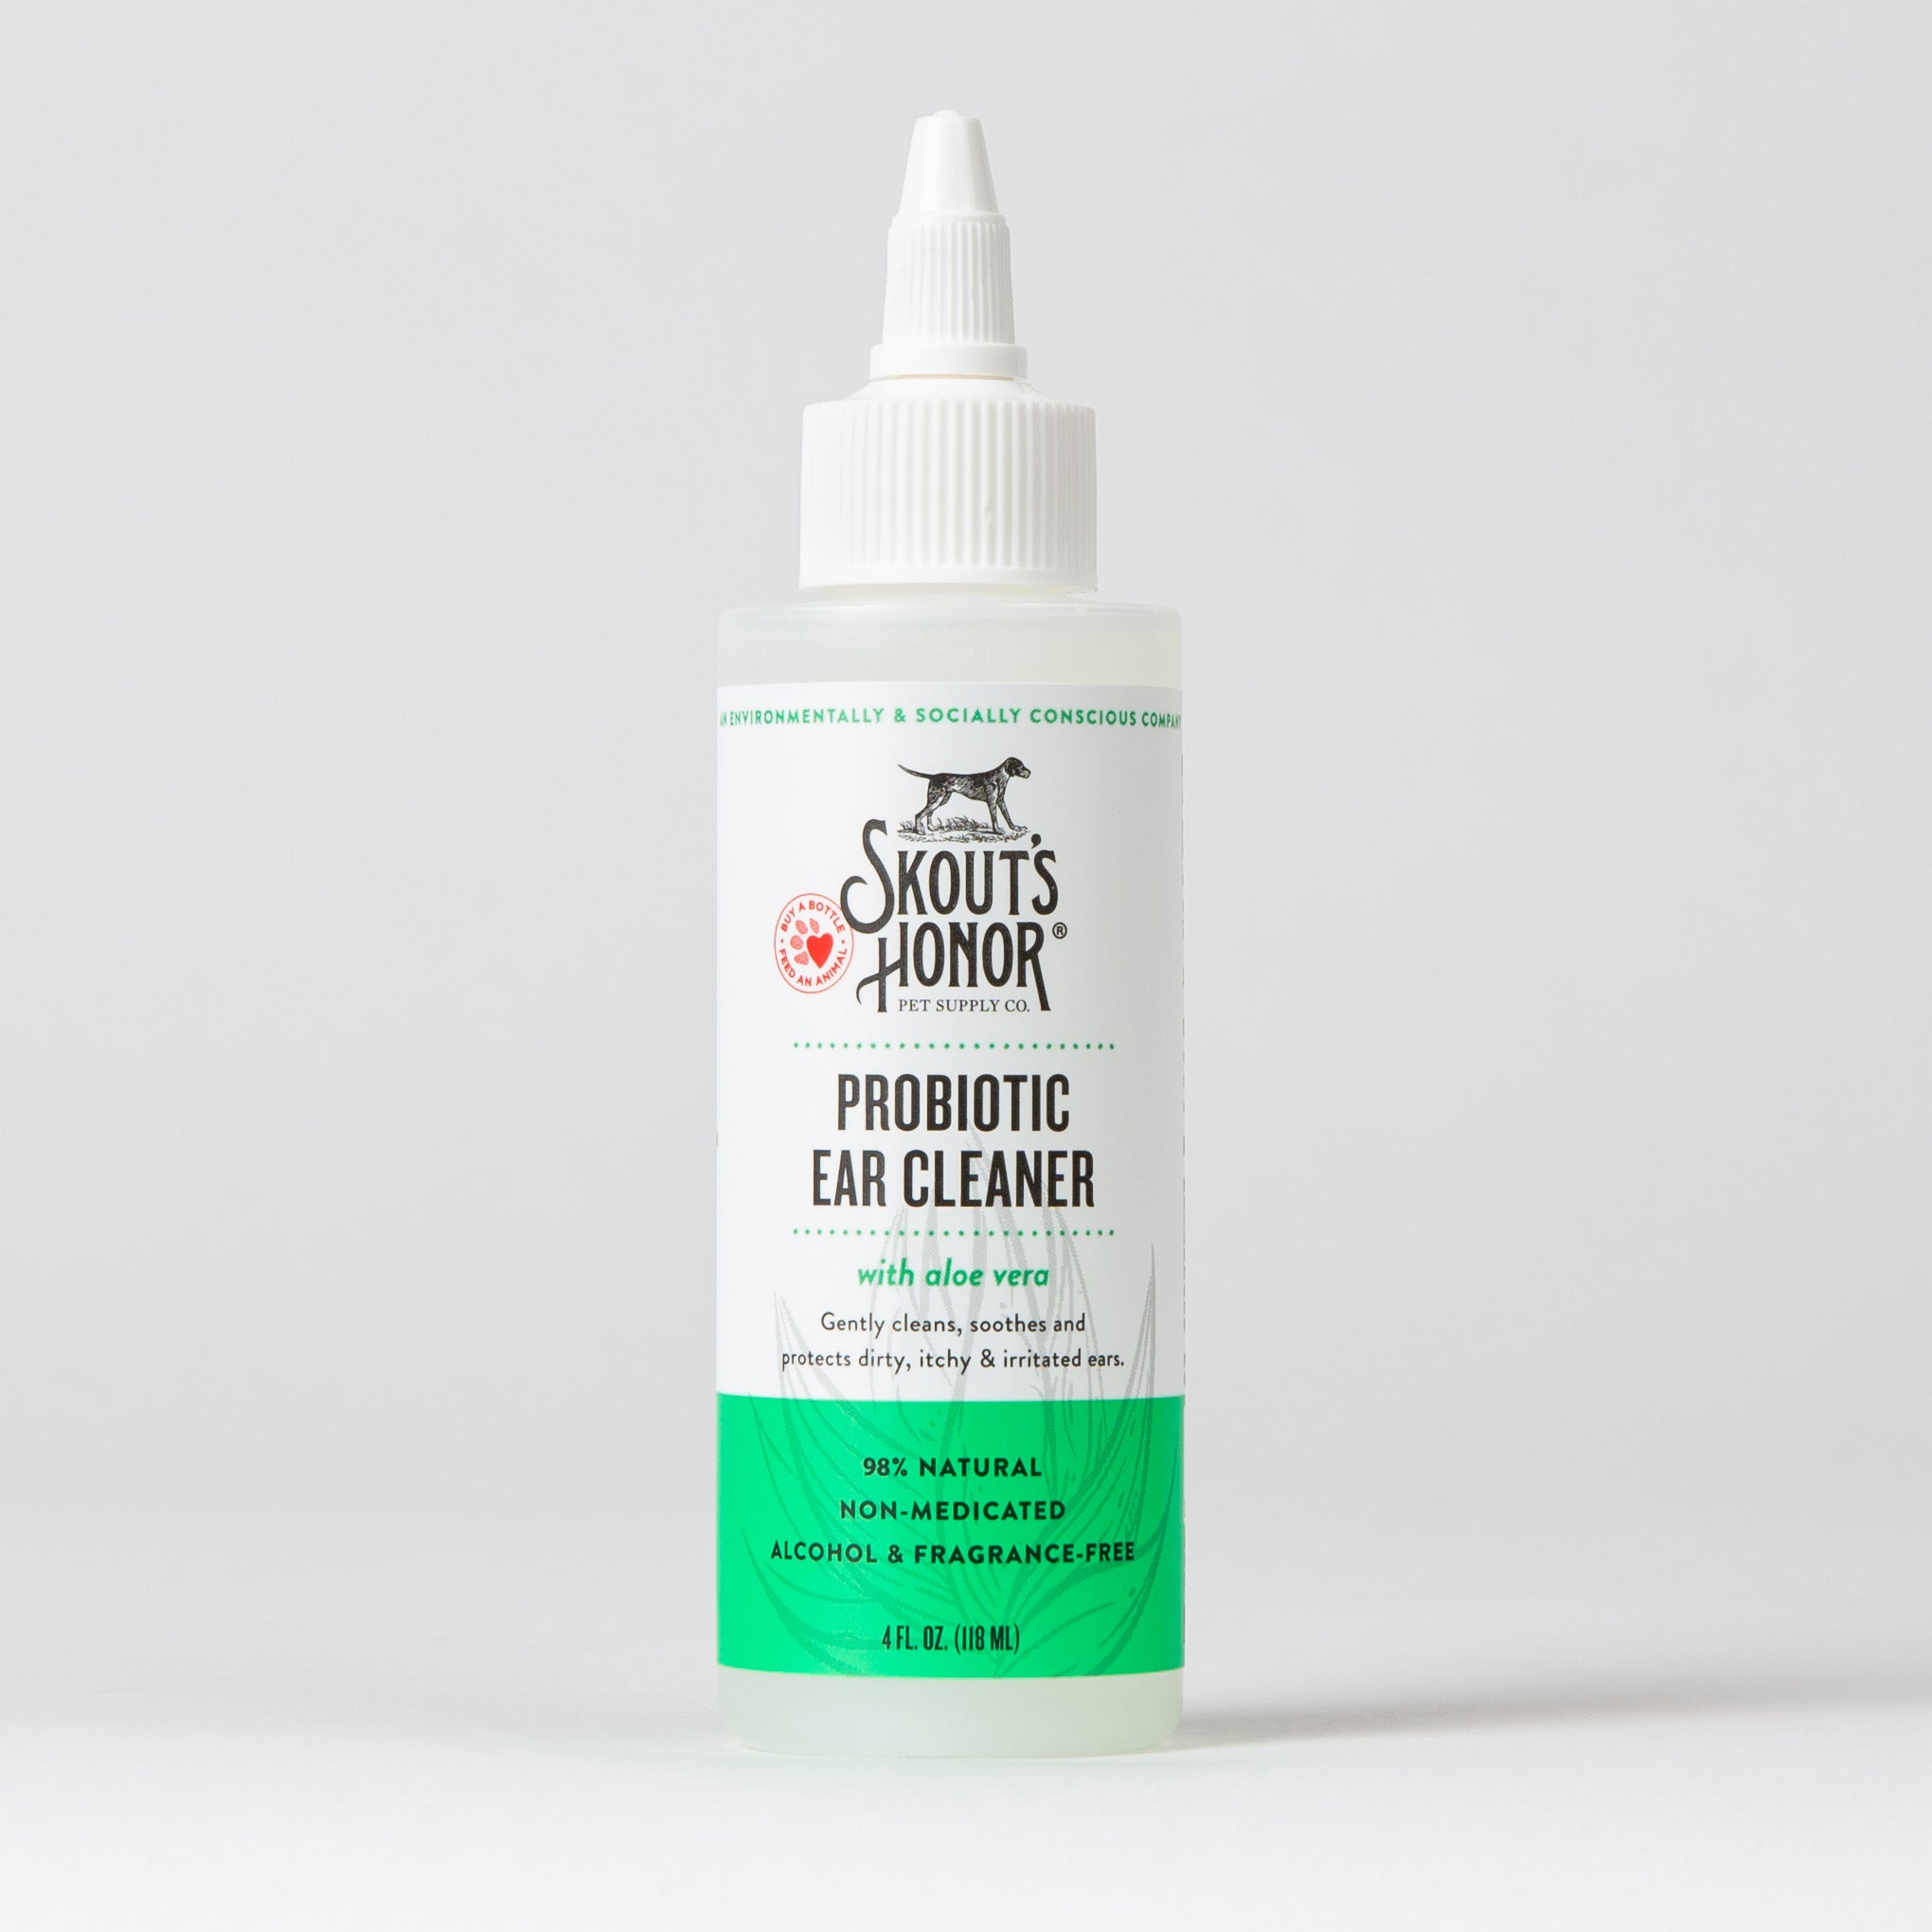
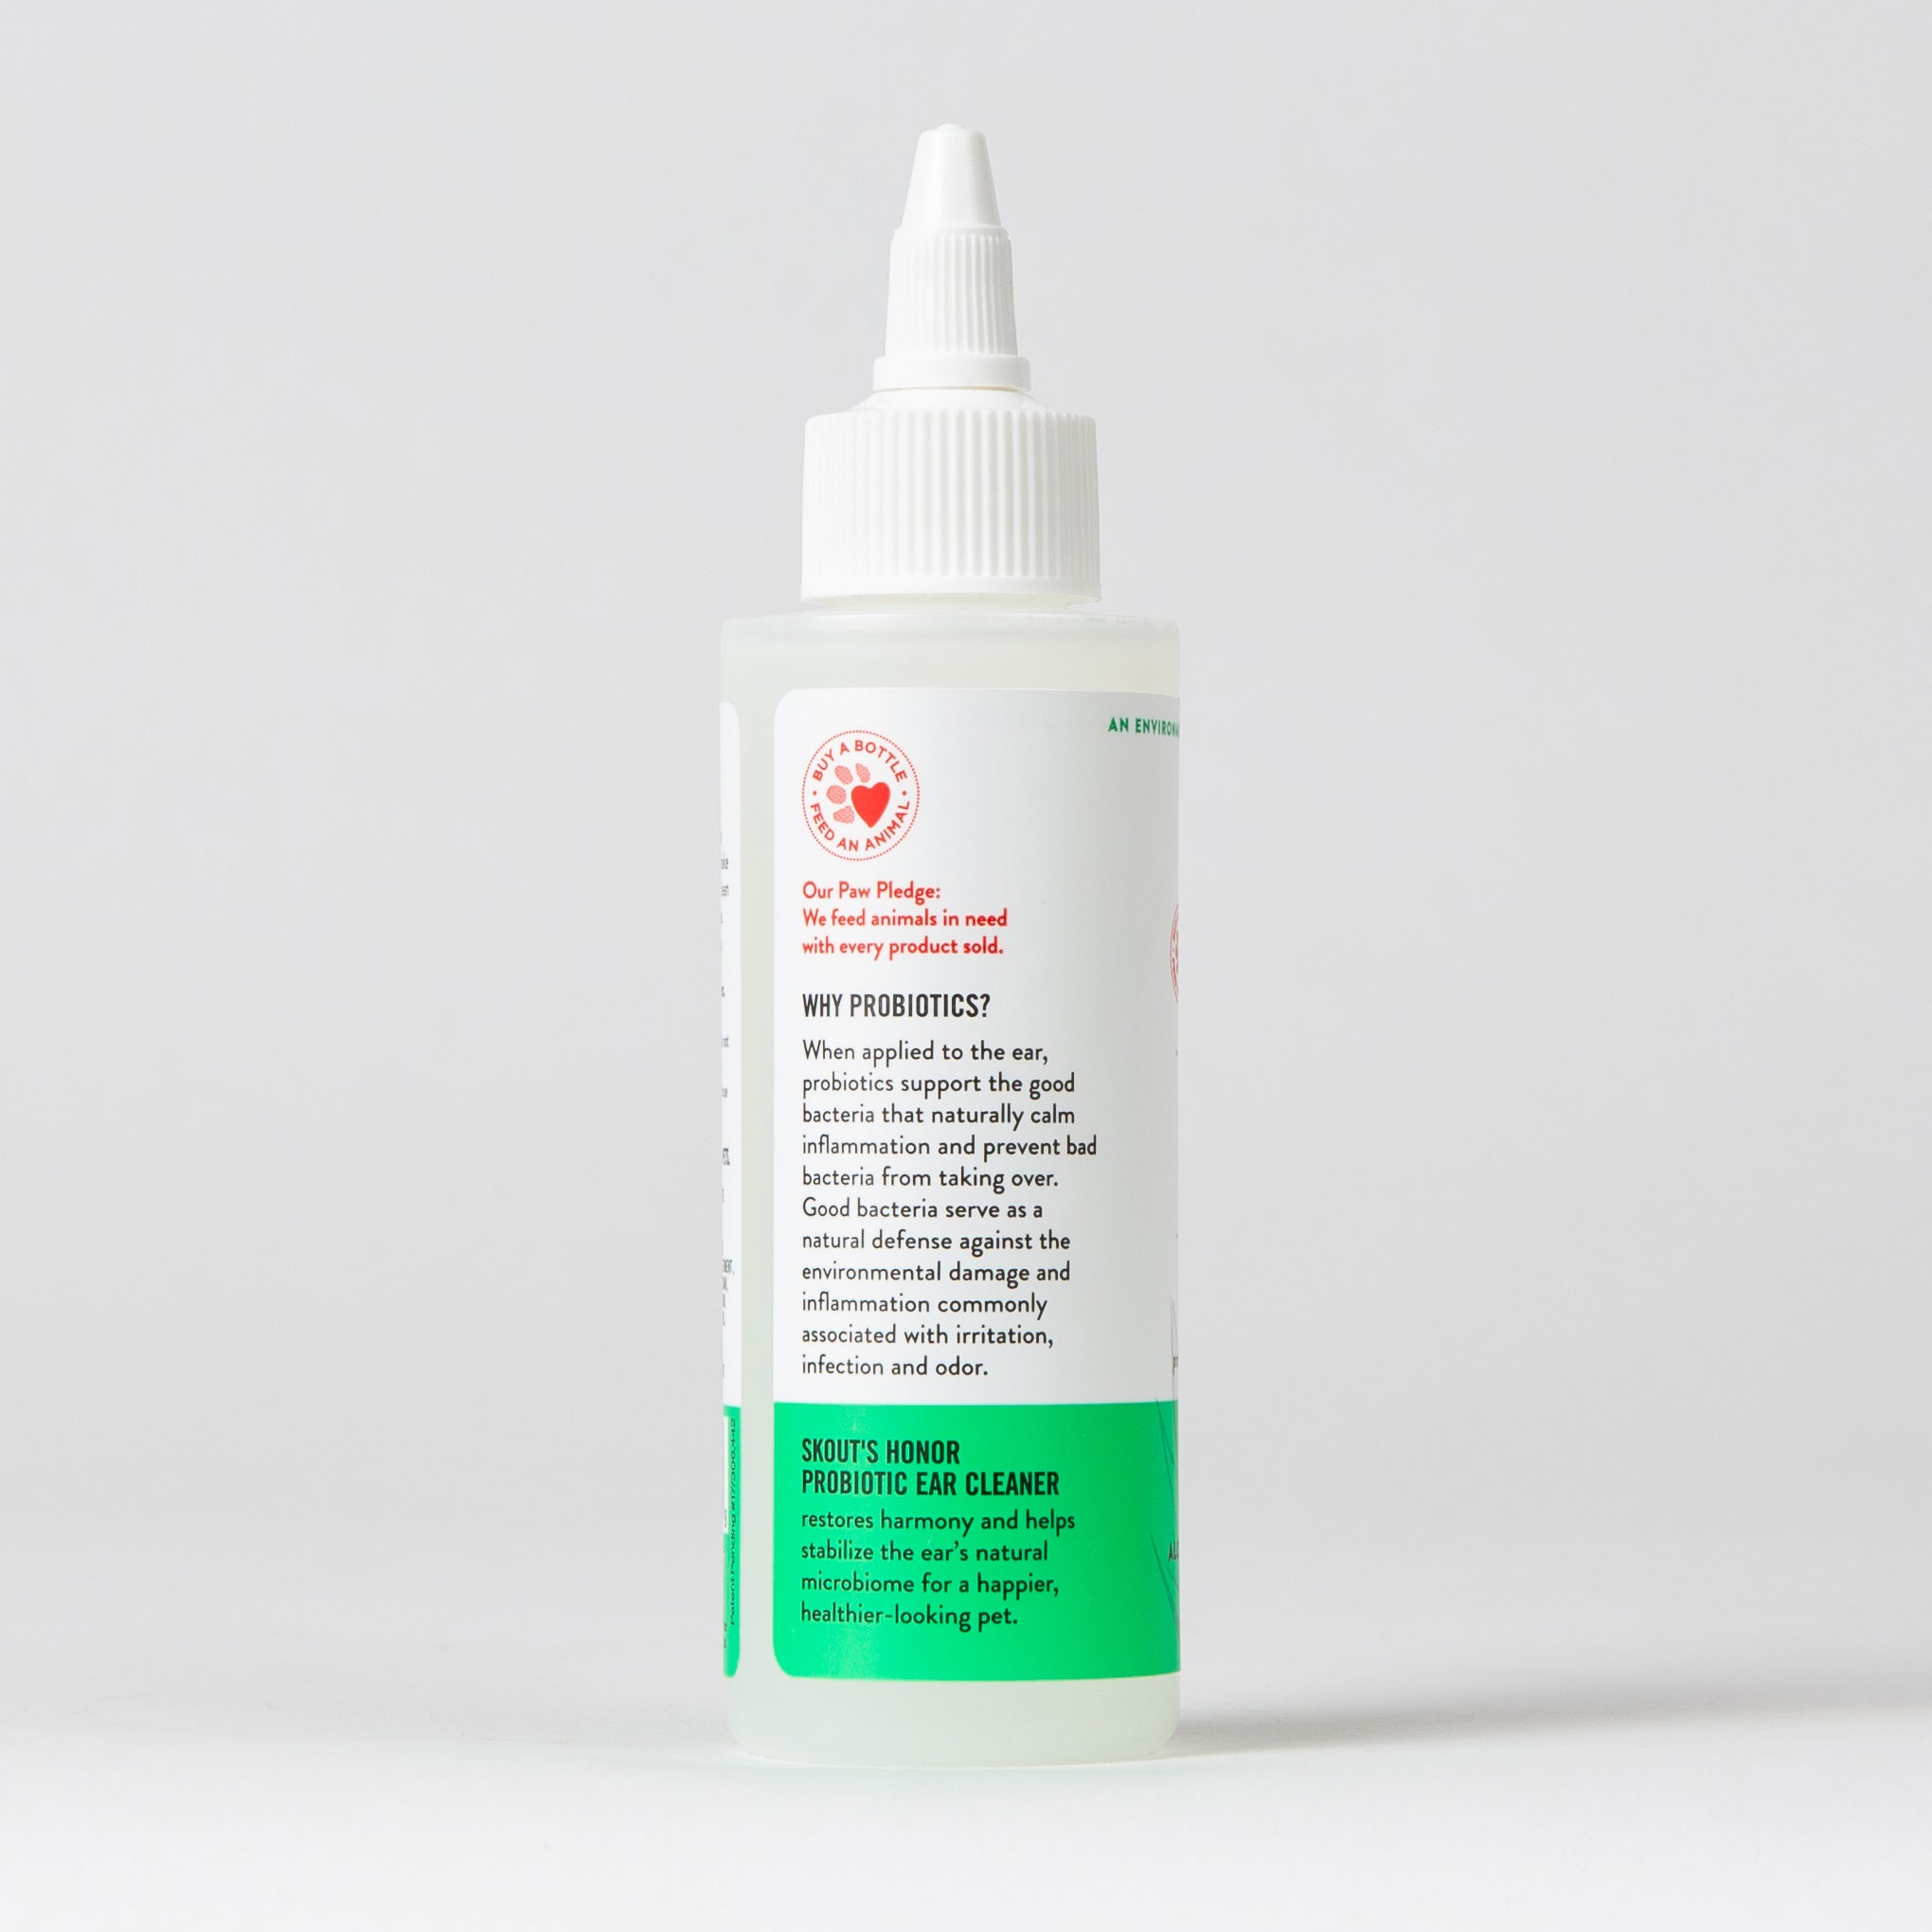
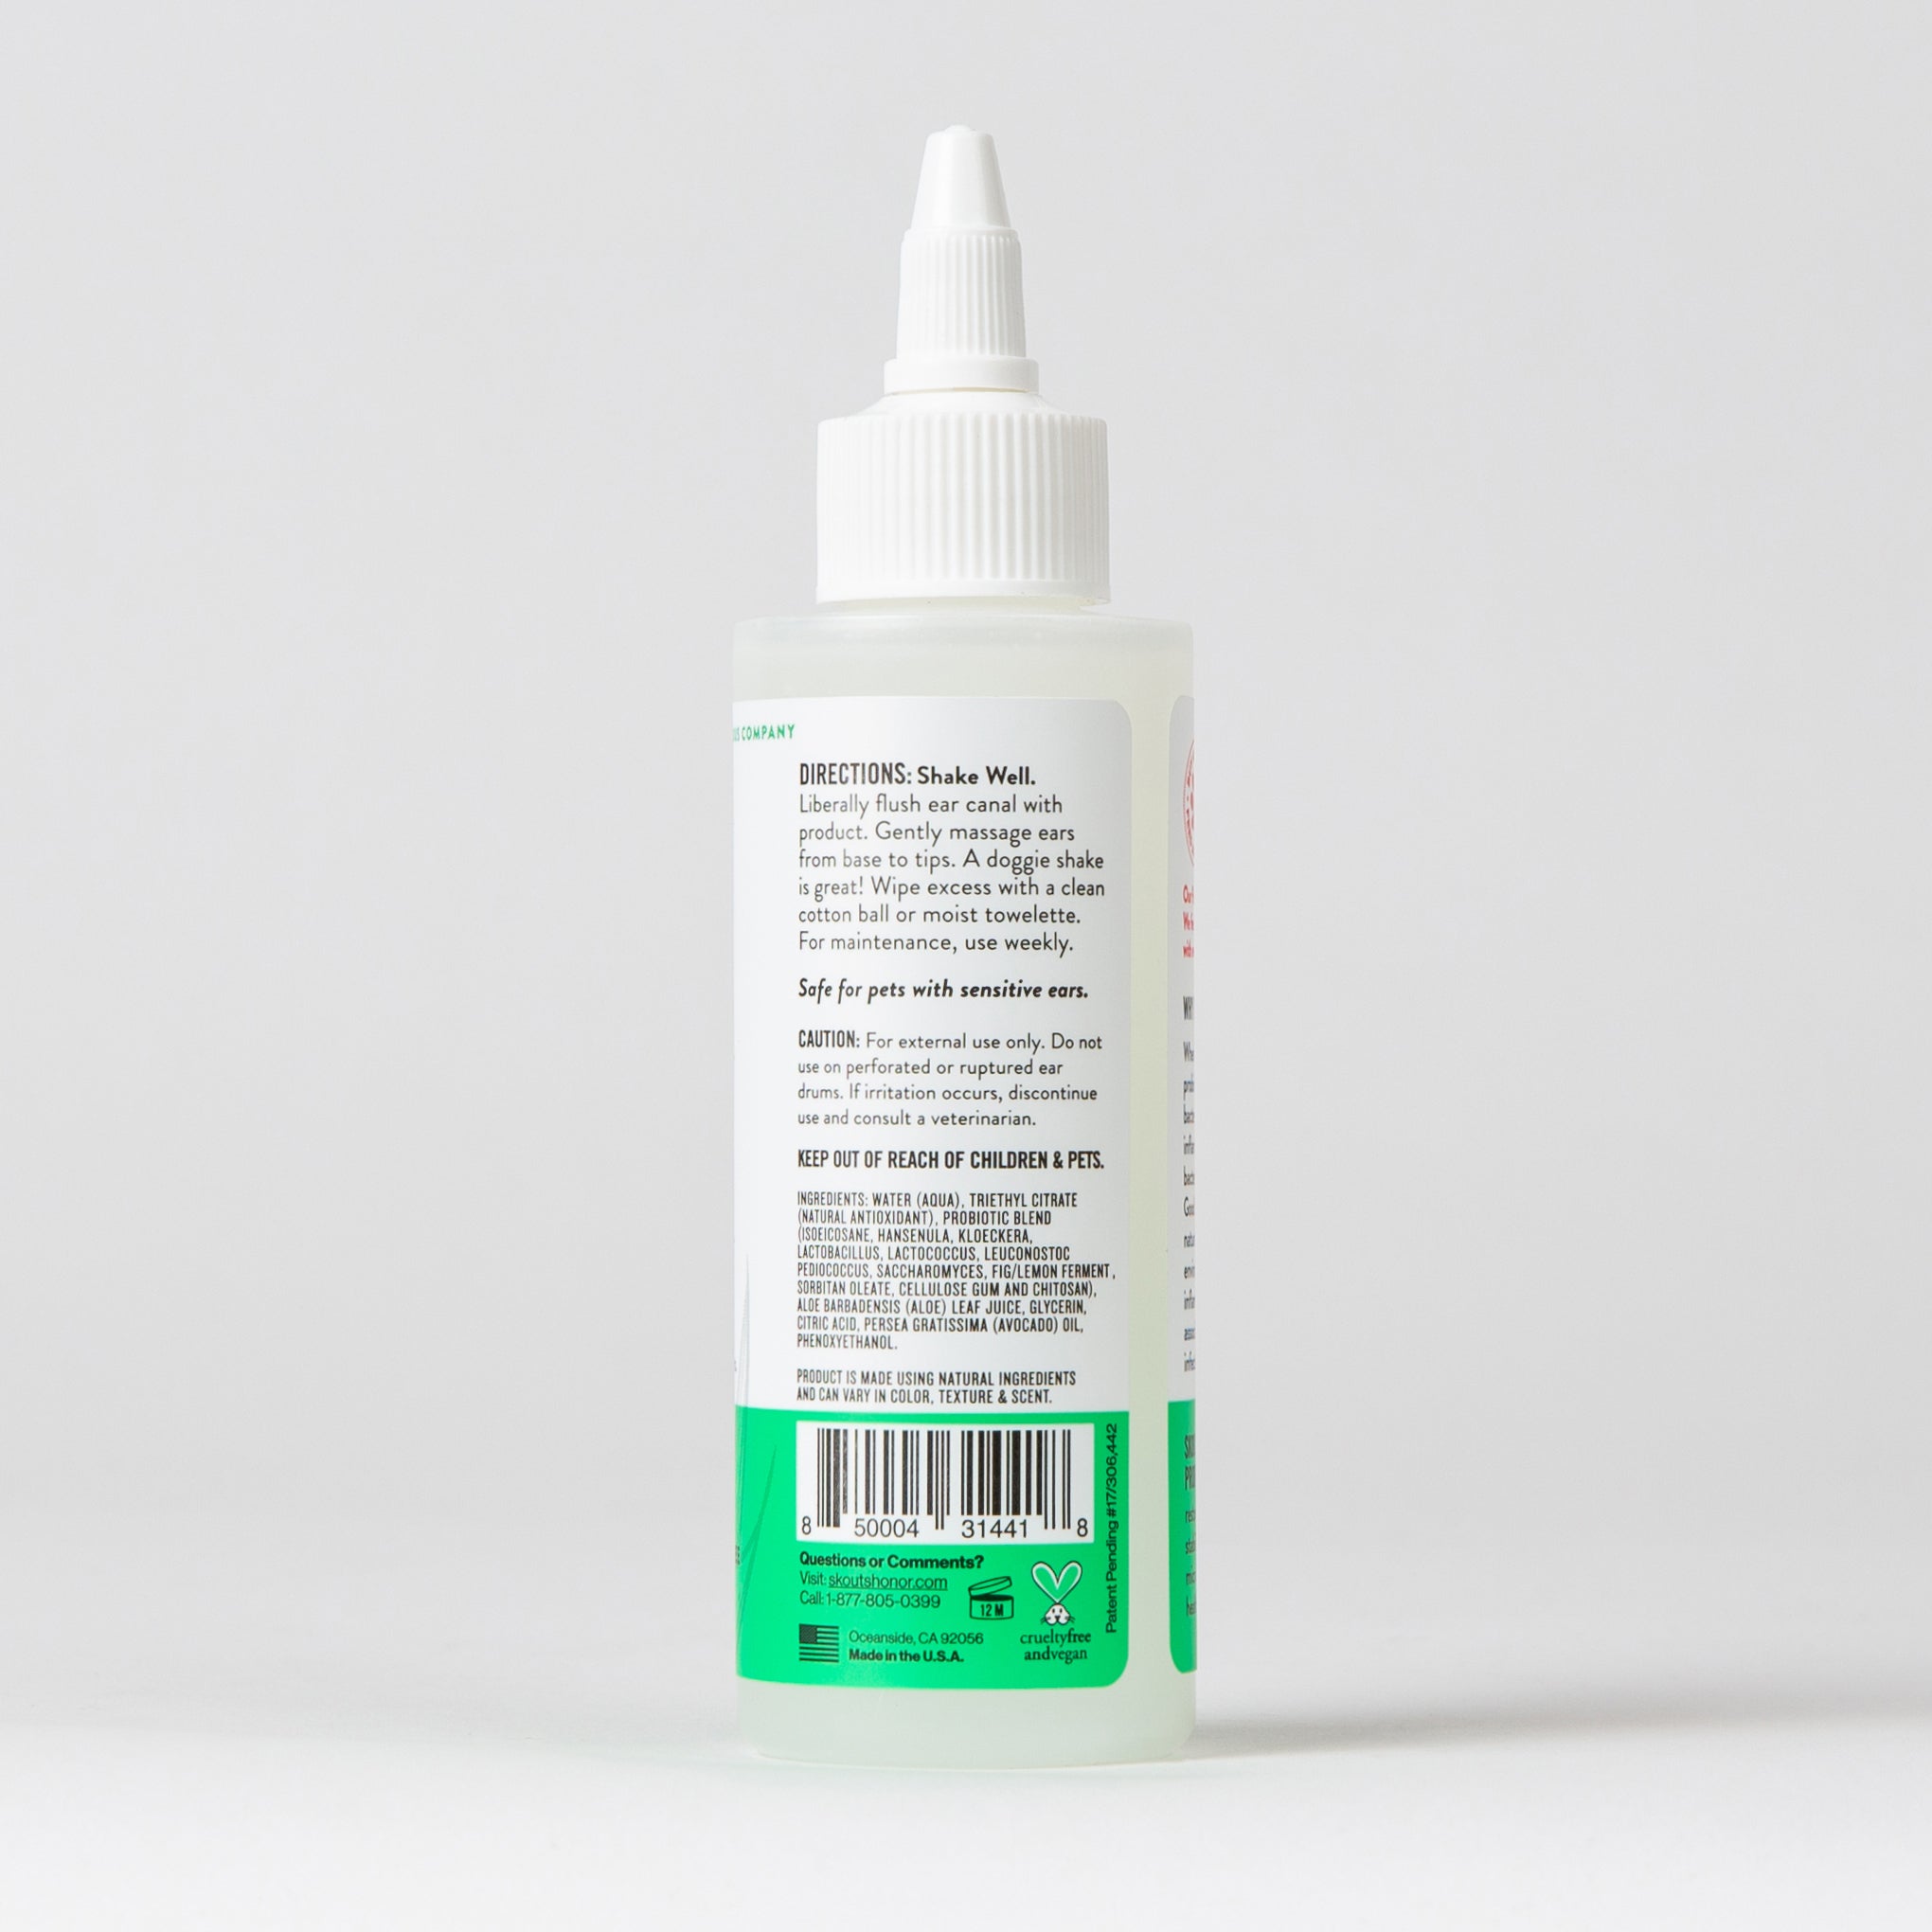
To clean your cat’s ears you’ll need an ear cleaning solution like Skout’s Honor’s Probiotic Ear Cleaner that’s made specifically for pets and does not have hydrogen peroxide or alcohol as an ingredient; these substances can irritate the ear. You’ll also need some cotton balls and a handful of treats to keep your cat as happy as possible.
When to Let the Professionals Handle It
Examine your cat’s ears before you start cleaning. The following signs call for making a trip to the vet before doing anything else:
- Bald patches or scaly skin
- Redness or inflammation
- Ears seem to be tender or painful
- Excessive scratching of ears
- Dark-colored debris around ears
If your cat is displaying any of these signs, he or she might have an ear infection, a ruptured eardrum or another medical problem. Let your vet examine your cat before you move ahead. Once you get the green light for at-home cleanings, here’s how to begin.
How to Clean Your Cat’s Ears Step-by-Step
Make Sure Your Cat Is Relaxed - Approach your cat during a time when they’re calm and relaxed — maybe during the afternoon, when they’re lazily napping in a patch of sunlight. The first thing you need to do is simply examine your cat’s ears. Gently turn them inside out and check to make sure you don’t see any signs of infection or other medical problems. If you have a kitten, start handling their ears on a regular basis to get them used to it. Once you’re ready to start the actual cleaning, you may need to swaddle your cat in a towel so it doesn’t run away.
Use Your Ear Cleaning Solution - Gently pull your cat’s ear flap back and squeeze some of the ear cleaning solution into the ear. While still holding the ear flap, use your other hand to massage the base of their ear to break up any wax in the ear canal. Use a cotton ball to wipe away any debris from the ear flap. Let your cat shake its head and then wipe away any additional debris that has appeared. Take care not to push the cotton ball or cotton swabs down their ear; only wipe what’s externally visible.
Rinse and Repeat - Give your cat a treat and then repeat on the other ear. Your cat probably won’t enjoy this process. If they seem to be in actual pain, stop and talk to your vet before continuing.
Keep Your Cat’s Ears Clean - Regularly grooming your cat’s ears is a good way to help your cat stay healthy and happy. Check out our Probiotic Cat Ear Cleaner to help fight bacteria and yeast and keep potential infections at bay!


How to Own Cats Without Smelling Like One
What to Do When Your Dog Gets Skunked